
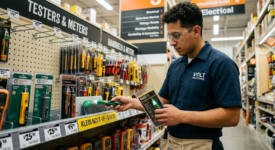
Reliable Voltage Testers Under $25: How to Shop Budget Without Compromising Your Safety
 salehunter.net
 Every household electrical project in the United States begins with the exact same leap of faith: staring into a dark junction box, looking at a wall receptacle, and asking yourself, “Is this actually dead?”
There is an old saying among journeyman electricians: there are old electricians, and there are bold electricians, but there are no old, bold electricians. When you are standing on a fiberglass ladder trying to swap out a faulty ceiling fan, the sliver of plastic separating your index finger from 120 volts of alternating current is not the place to test the absolute outer limits of extreme frugality.
However, the modern home improvement market presents a confusing paradox. Walk down the tool aisle at your local Home Depot or browse Amazon, and you will find professional-grade Fluke multimeters sitting behind locked security glass for $220, hanging just inches away from neon-colored, generic “tick testers” priced at $6.99.
Do you need to forfeit a week’s grocery budget just to safely change a light switch? Absolutely not. But successfully shopping for a cheap voltage tester requires understanding the massive gulf between *inexpensive engineering* and *compromised safety*.
The Physics of the Pen: How a $12 Tester Actually Senses Voltage
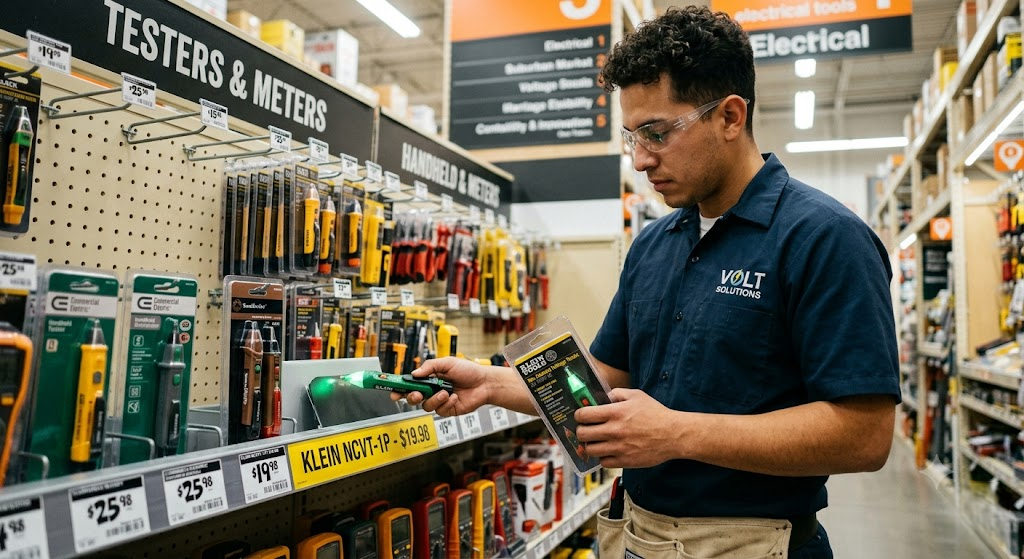
To understand why some cheap testers fail, you first have to understand how they work. The most popular budget tool for DIYers is the Non-Contact Voltage tester (NCV)—often called a pen tester or a tick tester.
A common misconception is that these pens act like miniature metal detectors or magnetic sensors. In reality, they operate on the principle of capacitive coupling. In standard residential AC wiring, the live wire acts as one plate of a capacitor. The plastic tip of your tester houses the second plate. When you bring the tip near a live wire, an invisible electrostatic field bridges the gap.
Here is the lesser-known detail that catches rookie DIYers off guard: you are the third part of that circuit.
For the NCV to register that voltage, a microscopic, harmless reference current has to travel through the tester, into your hand, through your body, and into the earth ground. Because of this, a perfectly functioning, cheap voltage tester can give you a false “dead” reading if:
- You are standing on a dry wooden ladder wearing thick, rubber-soled work boots.
- You are wearing heavy, dry leather work gloves.
- You are holding the tester by the extreme tail end rather than gripping the conductive body wrap.
Understanding this physics quirk is vital. A budget tester isn’t necessarily broken just because it stayed silent; it might just be starved of a ground reference. High-end tools compensate for this with ultra-sensitive internal ground-referencing planes; budget tools rely entirely on your bare skin making good contact with the handle.
The Non-Negotiable Safety Marks (What “Cheap” Must Never Mean)
If you are trying to keep your purchase under $20, you have to become a ruthless gatekeeper of certification labels. The internet is flooded with unbranded import tools that cut costs by omitting basic electrical shielding. Before you put a budget tester in your online shopping cart, verify three specific benchmarks:
1. The CAT Rating (Category Rating)
You will see markings on the chassis like CAT III 1000V or CAT IV 600V. In the American National Electrical Code (NEC) ecosystem, Category III covers the distribution wiring inside a home—circuit breakers, wiring, switches, and industrial equipment. Category IV covers the “origin of installation,” such as the overhead utility lines coming into your service meter.
If a tester simply says “Max 600V” but lacks an official CAT Roman numeral designation, put it down. If a massive transient voltage spike hits your local grid (for example, a nearby lightning strike or a substation switching anomaly) right at the millisecond you are probing a breaker, a true CAT III tester is built with internal blast barriers to safely absorb the arc flash. An unrated cheap tester can literally explode in your palm.
2. NRTL Certification (UL or ETL)
Look for the circular UL (Underwriters Laboratories) or ETL (Intertek) stamp. These are Nationally Recognized Testing Laboratories accredited by OSHA.
Do not be fooled by the generic “CE” mark found on ultra-cheap $4 drop-shipped testers. While CE stands for Conformité Européenne in reputable European manufacturing, on unvetted budget imports it is widely recognized in the engineering world as a self-declared “China Export” badge. It carries zero independent, third-party lab verification that the device’s internal resistor won’t melt the moment it touches 240 volts.
The Hidden Trap of Budget Tools: “Ghost Voltage”
When you buy a lower-end digital multimeter or a hyper-sensitive non-contact pen to save money, you will eventually run into the phantom menace of residential wiring: ghost voltage.
In modern American homes, multiple Romex (NM-B) cables are frequently bundled tightly together inside the same wooden stud bays. If you have a completely dead, disconnected wire running parallel to a heavily loaded 15-amp live circuit for twenty or thirty feet, the live wire will act as the primary winding of a transformer, electromagnetically inducing a small voltage into the dead wire.
A cheap, high-impedance tester will touch that dead wire and start screaming, reading anywhere from 20 to 60 volts.
This creates a dangerous psychological trap. A novice homeowner tests a wire, sees a faint beep or a weird 42V reading, assumes the tester is “just acting glitchy because it was cheap,” ignores it, and grabs the wire—only to discover it was actually a live 120V feed with a bad neutral. If your budget tester gives you an ambiguous reading, you must verify it with a standard plug-in receptacle tester or a dual-impedance meter.
The Three Smartest Budget Tester Formats for DIYers
You do not need one $150 super-tool. You are infinitely safer spending $25 total on a combination of two basic, highly specialized budget tools. Here is how to allocate a tight budget across the three most dependable formats:
1. The Dual-Range NCV Pen ($10 – $16)
When buying a pen tester, spend the extra three dollars to get a dual-range model (typically 12V–1000V AC). Standard budget testers only detect 70V and up. A dual-range tester allows you to check standard 120V wall outlets on high mode, but switch to low-voltage mode to troubleshoot broken doorbells, 24V HVAC thermostat wires, and low-voltage outdoor landscape lighting.
Crucial budget feature to demand: An LED flashlight built into the tip. Residential breaker panels are almost universally located in dark basements, garages, or unlit hallways; holding a smartphone flashlight in your teeth while probing a live panel is a recipe for an accident.
2. The 3-Wire GFCI Receptacle “Cube” ($8 – $12)
If you are doing standard outlet replacements, an NCV pen is the wrong primary tool. You want a plug-in circuit analyzer. These yellow or orange plug-in blocks feature three glowing neon lights that map out instantly whether an outlet is wired correctly, has an open ground, an open neutral, or reversed hot/neutral wires.
When buying cheap, always buy the version with the little round GFCI test button on top. This allows you to plug the tester into a bathroom or kitchen outlet, press the button, and physically force the upstream Ground Fault Circuit Interrupter to trip. It is the only reliable way to prove that a home’s life-saving moisture sensors are actually communicating with the wiring.
3. The Basic Auto-Ranging Digital Multimeter ($15 – $25)
If you want exact voltage readouts rather than just a “beep,” stick to entry-level models from established tier-two brands like Klein Tools, Commercial Electric, or Sperry. Avoid the $6 unbranded black multimeters with the tiny, razor-thin 24-gauge wire leads. Cheap, stiff plastic leads crack at the base over time, exposing the internal copper conductor right where your fingers rest.
The Golden Rule of the Budget Electrician: “Live-Dead-Live”
You can buy a $300 industrial tester, drop it on a concrete garage floor once, crack a solder joint inside, and it will read “dead” on a live wire. Therefore, safety relies less on the price tag of the tool and 100% on your procedural discipline.
The Occupational Safety and Health Administration (OSHA) enforces a strict protocol for professional linemen that every budget DIYer should adopt as domestic law. It is called the Live-Dead-Live (LDL) verification test:
- Step 1 (LIVE): Take your cheap voltage tester to a known, working electrical source. Plug it into a bedroom lamp outlet that is currently turned on. Verify that the tester lights up, vibrates, or screams. You have now proven the tester’s batteries are good and the internal logic board is functioning.
- Step 2 (DEAD): Walk over to the circuit you just shut off at the breaker box. Probe the wire or outlet. Verify that the tester remains entirely dead and silent.
- Step 3 (LIVE): Immediately walk back to that known, working bedroom lamp outlet and test it a second time. Verify that the tester lights up again. You have now proven that your cheap tester did not happen to suffer a catastrophic internal battery failure during the 45 seconds you spent walking to the hallway.
If you skip Step 3, you are betting your cardiac rhythm on the assumption that a mass-produced AAA battery didn’t lose its contact spring right when you needed it most.
Summary: Where to Draw the Line at the Register
Being smart with your money is a virtue; being cheap with line-voltage AC is a gamble with terrible odds.
The sweet spot for a safe, reliable domestic voltage testing setup in the U.S. lives precisely in the $12 to $22 range. At this price point, established manufacturers have paid the fees for genuine UL/ETL safety testing, utilized high-impact ABS plastics that survive tool-bag drops, and integrated proper CAT III input protection.
Leave the $3.99 novelty impulse-buy testers in the bargain bin at the gas station checkout counter. Buy a certified, dual-range tick tester, pair it with an $8 plug-in GFCI cube, practice the Live-Dead-Live sequence religiously, and keep your hard-earned money right where it belongs: in your wallet, rather than an emergency room co-pay.


